 decorifusta Garden and patio decoration inspiration
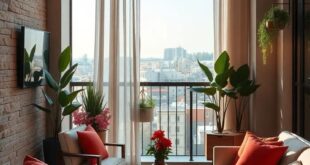
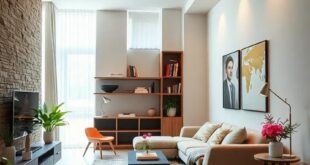
Welcome to your creative haven! Designing an inspiring art studio in a small space can be both a challenge and an exciting chance to explore your artistic potential. whether you’re a seasoned artist seeking a cozy retreat or a budding creator looking for a vibrant workspace, this listicle is here to guide you. We’ve curated 25 innovative tips that will transform your limited square footage into a sanctuary of creativity. From smart storage solutions and clever lighting techniques to inspiring decor ideas and workspace institution, each tip offers unique insights to help you maximize your small studio. dive in and discover how to cultivate an habitat that not only sparks your creativity but also fuels your passion for art. Let’s get started on crafting the perfect space that inspires you to create!
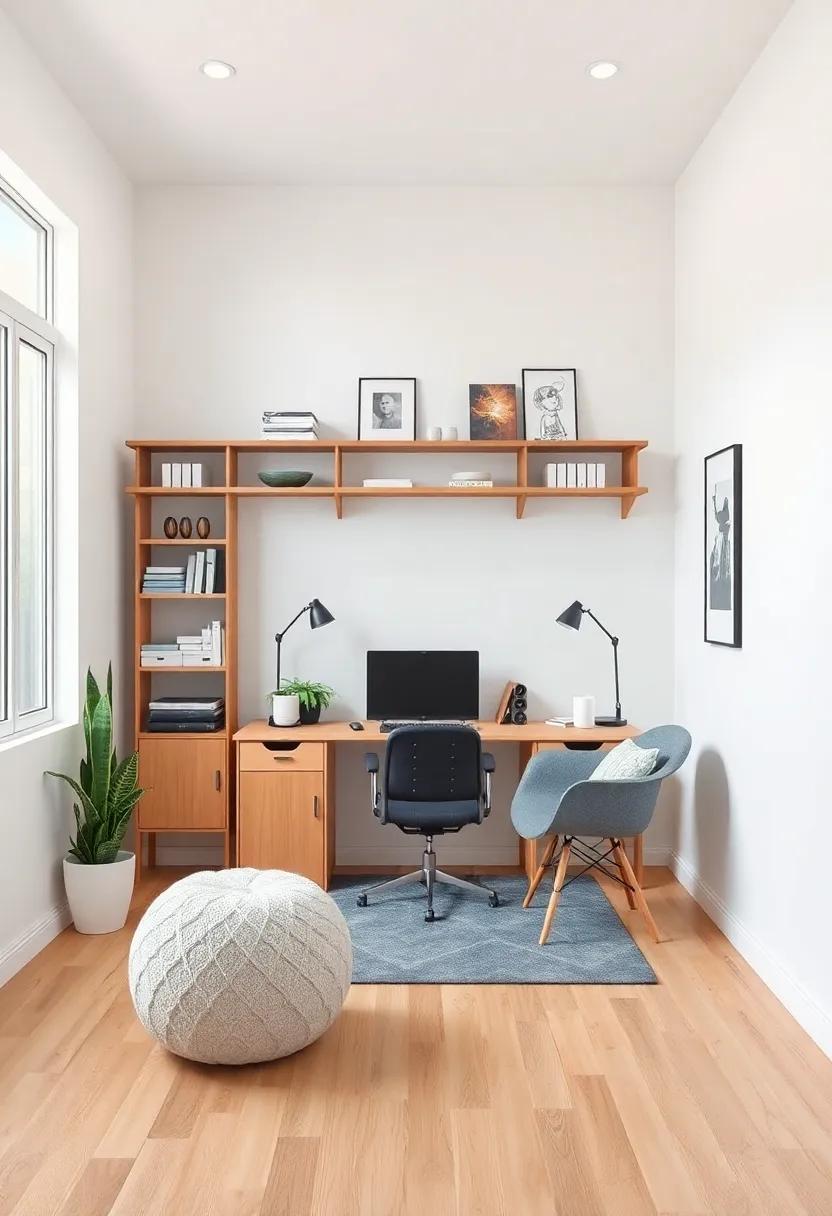
Maximize vertical space with wall-mounted shelving to keep your supplies organized and accessible
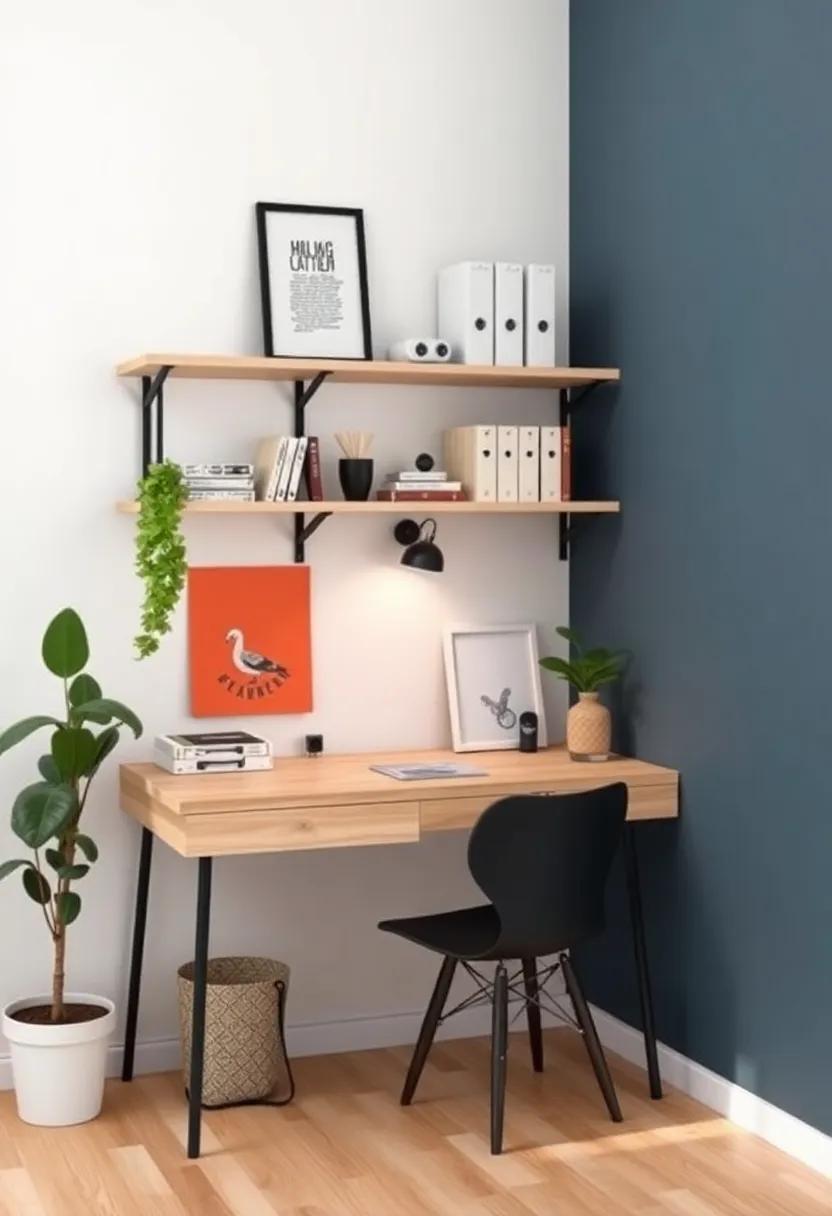
Transform your small art studio into a haven of creativity by utilizing wall-mounted shelving to free up valuable floor space. By going vertical, you can effectively create a visually pleasing and functional environment that allows you to display your art supplies and tools. Consider incorporating shelves at varying heights to make your workspace dynamic and add interest. Key advantages of wall-mounted shelves include:
- increased organization: Categorize supplies by function or color to make them easily accessible.
- Maximized storage: Utilize every inch of your walls to keep essentials within reach.
- Personal touch: Showcase artwork or inspirational items alongside your tools for a creative atmosphere.
Choosing materials and styles that reflect your artistic flair can enhance both practicality and aesthetic appeal. Use lightweight materials for quick adjustments or a darker wood to add a touch of sophistication. To further support your creative process, consider establishing designated zones on your shelves. Below is a simple table to illustrate how to categorize your supplies effectively:
| Category | Suggested Supplies |
|---|---|
| Painting | Canvas, brushes, paint tubes |
| Sketching | Pencils, charcoals, sketch pads |
| Mixed media | Glue, scissors, collage materials |
By thoughtfully arranging shelving heights and thoughtfully placing categorized supplies, you’ll cultivate an inspiring workspace that encourages productivity and creativity. No longer will your artistic journey be stifled by clutter; instead, you’ll find a sense of serenity and inspiration where art truly flourishes.
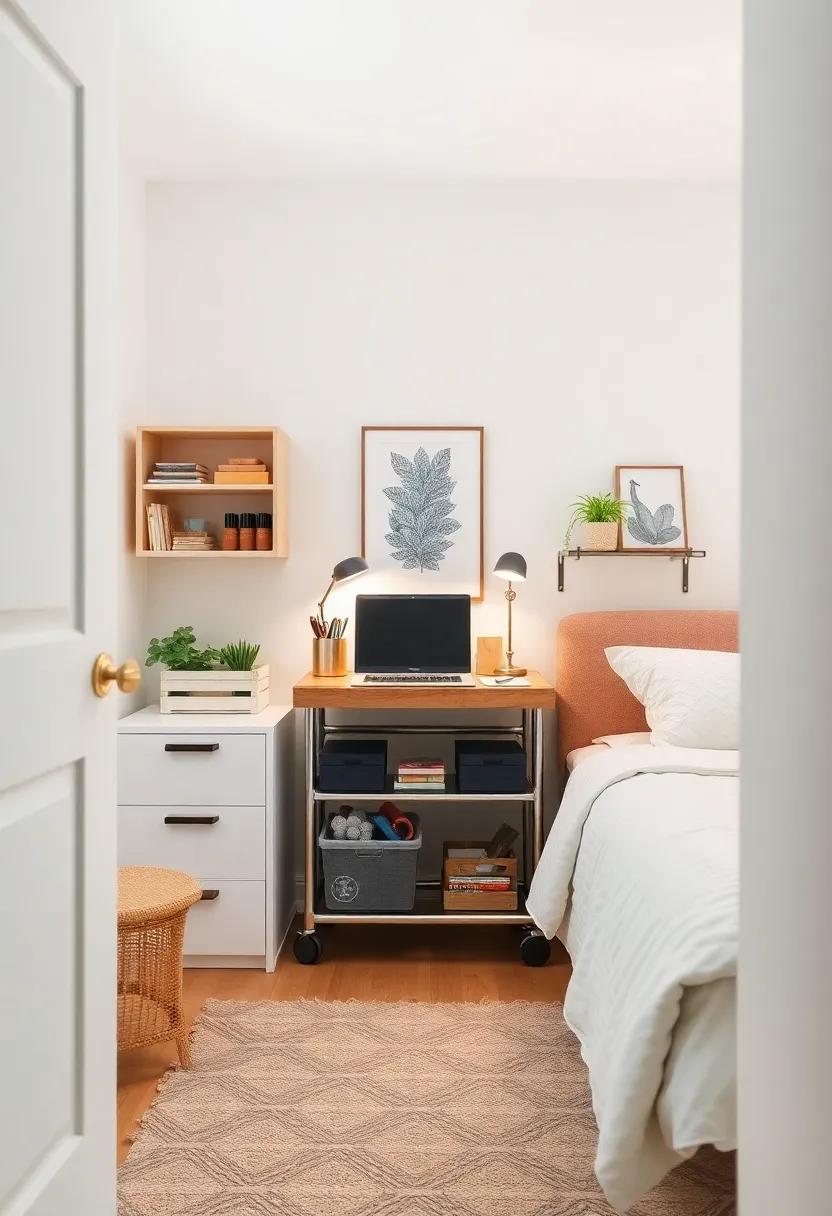
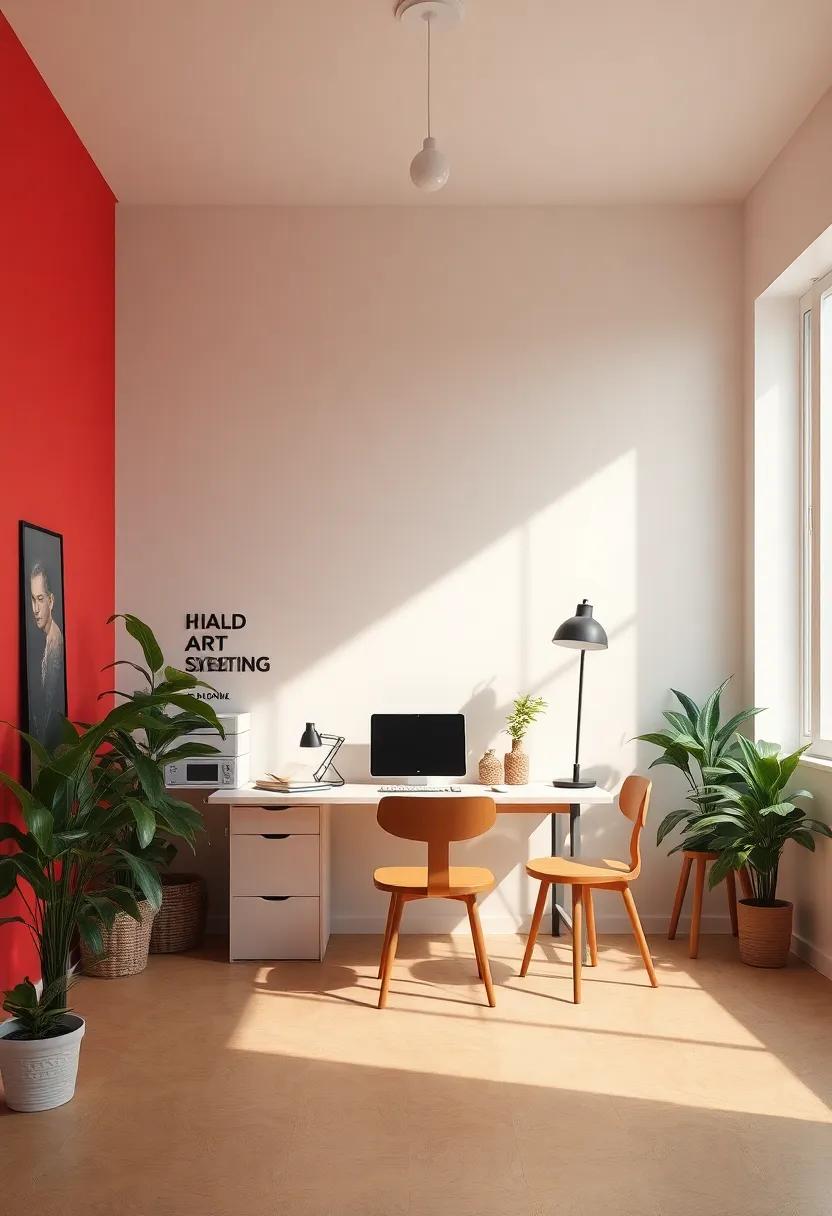
Opt for a compact, multifunctional worktable that can double as storage and a display area for your art
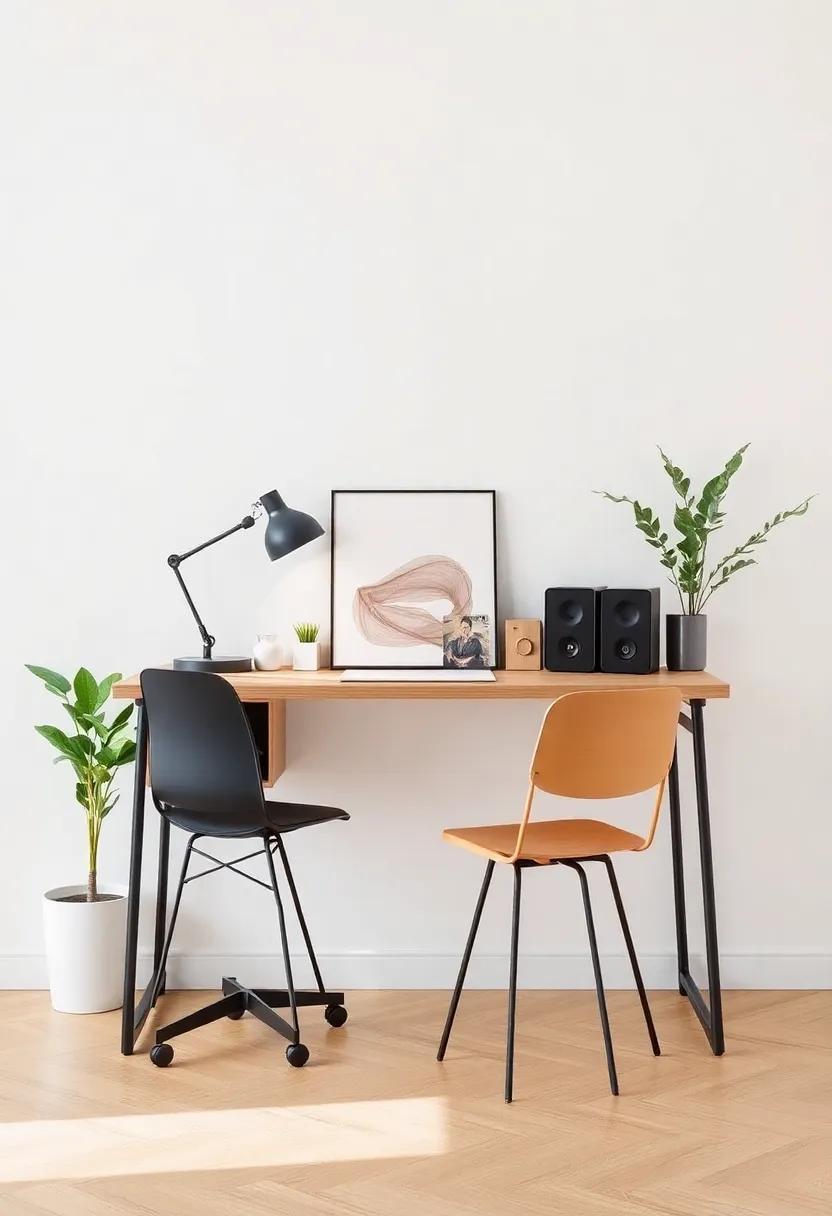
In a small art studio, every inch counts, and a compact worktable can prove to be a game changer.Look for designs that seamlessly combine functionality with aesthetic appeal, allowing you to not only work on your creative projects but also display your finished pieces. By selecting a table that incorporates hidden storage options, you can keep your supplies organized and out of sight, which helps to maintain a clean and inspiring environment. Options such as drawers under the tabletop or shelves underneath can provide ample space for everything from paints and brushes to canvases and sketchbooks.
moreover,consider choosing a table that offers adjustable heights or foldable features to accommodate your working style and available space. this versatility allows you to customize your workspace based on your current project needs while maximizing the functionality of your studio. A sleek design can also serve as a display area, giving your artwork a prominent spot to shine. Incorporating elements such as clips or hooks on the edges can create an effortless way to showcase your creations and find inspiration in them while you work.
| Feature | Benefits |
|---|---|
| Hidden Storage | Keeps supplies organized and out of view |
| Adjustable Heights | Customizes workspace for comfort and versatility |
| Display Areas | Showcases artwork and enhances inspiration |
| Foldable Design | saves space when not in use |
Use bright, reflective colors on walls to create an open and airy feel that enhances creativity
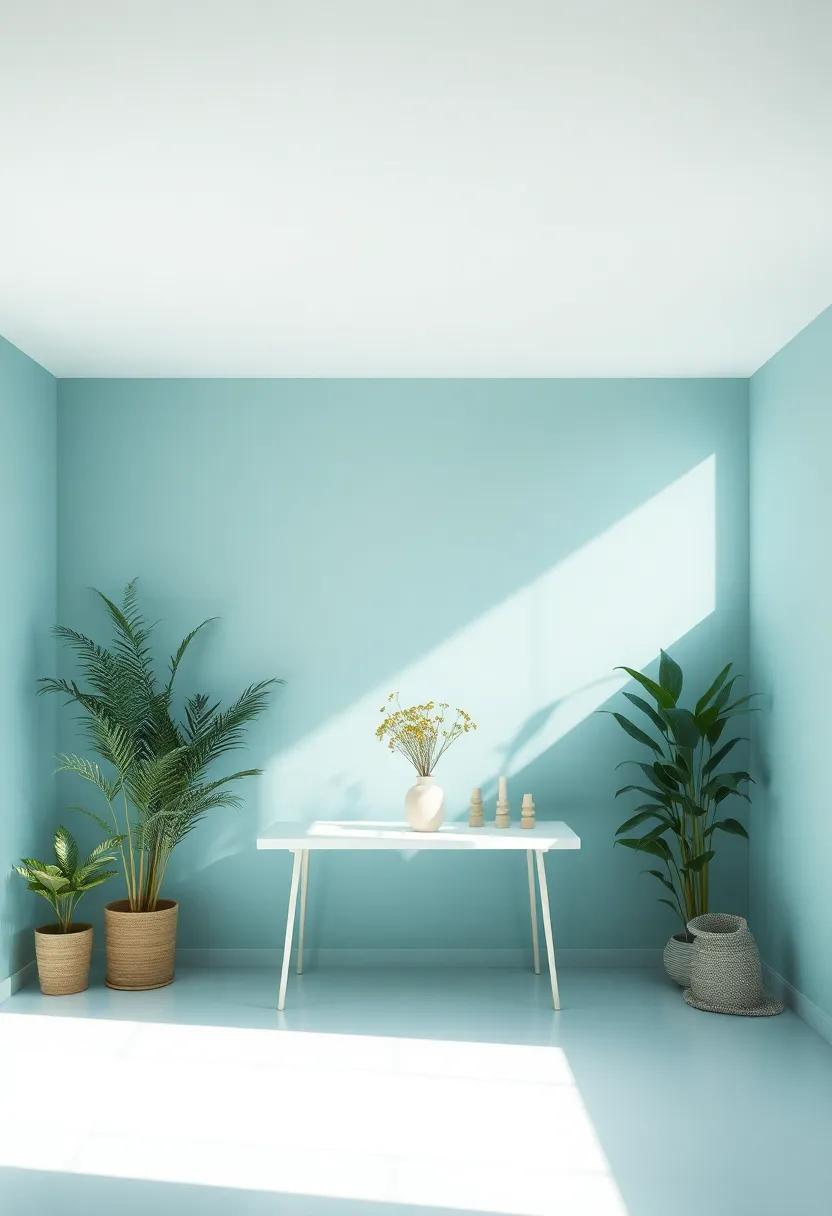
Incorporating bright and reflective colors into your art studio can dramatically transform the atmosphere, making it feel more spacious and inviting. Light hues, such as soft yellows, sky blues, and crisp whites, bounce natural light around the room, helping to create an illusion of openness. Reflective finishes, like satin or semi-gloss paints, can enhance this effect by adding a subtle sheen that captures the light, making the walls appear almost ethereal. By choosing dynamic color palettes, you can stimulate your creative juices and foster an environment that encourages experimentation.
When selecting colors, consider how they complement your art supplies and furniture. Using contrasting accents with bolder shades can invigorate the space without overwhelming it. As a notable example, you might paint one wall a vibrant coral while keeping the others a soft ivory to create a focal point without closing in the space. Here are some color combinations to inspire you:
| Base Color | Accent Color | Effect |
|---|---|---|
| Soft Blue | Bright Orange | Tranquility with energy |
| Pale yellow | Rich Green | Sunshine with freshness |
| Light Lavender | Deep Pink | Calm with inspiration |
Experiment with vertical stripes or patterns that can further add to the sense of depth and height. Making thoughtful choices about your wall colors can unlock a new level of inspiration in your artistic endeavors, paving the way for creativity to flourish in your compact art space.
Incorporate natural light by positioning your studio near windows or using light tubes to brighten dark corners
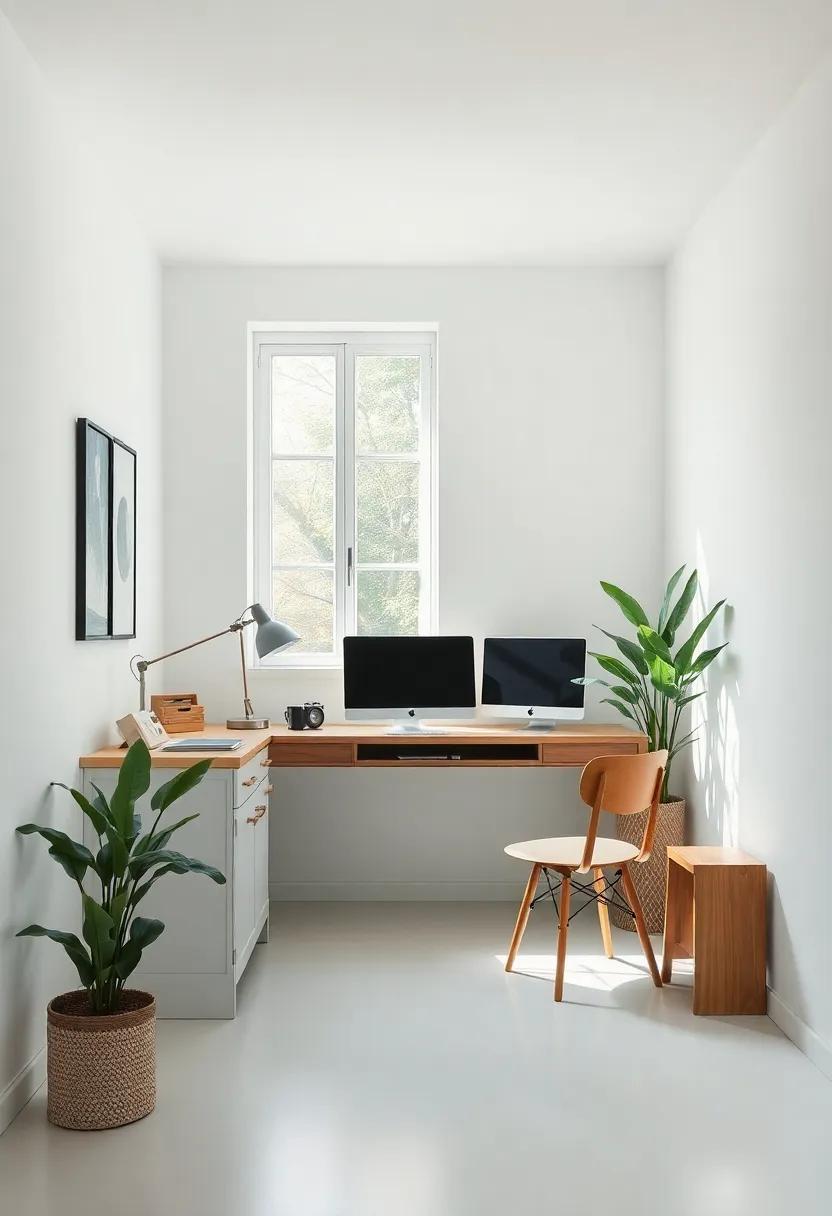
Maximizing the flow of natural light into your art studio not only enhances the ambiance but also energizes your creative process. Positioning your space near windows allows for abundant light, which can be meticulously controlled using sheer curtains to diffuse harsh rays while maintaining a bright atmosphere. Consider dedicating a specific area of your studio to bask in natural light, utilizing reflective surfaces like mirrors or metallic accents to amplify brightness. Small adjustments, such as placing your easel or workspace adjacent to windows, can lead to important improvements in your working experience.
In instances where traditional windows are scarce,light tubes offer an innovative solution to illuminate darker corners. These sleek installations channel daylight from the exterior of your building into your studio, creating a soft, welcoming glow.By incorporating light tubes, you can achieve even light distribution throughout the space, perfect for detailed work or exploring new techniques. pair this method with additional lighting options such as adjustable LED lamps to meet different creative needs, ensuring your studio remains a vibrant and inspiring environment, regardless of the time of day.
Invest in movable furniture that can easily be rearranged to accommodate different projects and activities
When working in a small art studio, the ability to adapt your space is crucial to fostering creativity. Movable furniture allows you to seamlessly transition between various projects, whether you’re throwing a lively painting session or setting up a serene corner for sketching. Opt for items like foldable tables, which can be tucked away when not in use, or stackable chairs that can be easily stored to free up floor space. Consider investing in a rolling cart to keep materials organized and accessible, allowing you to effortlessly shift supplies as needed.
Another clever option is to incorporate modular seating or inflatable cushions, which can be rearranged to suit different moods and activities. These designs encourage fluidity in your workspace, enabling you to host creative gatherings or intimate individual practice sessions. To ensure that everything remains aesthetically pleasing, choose furniture pieces that match in style, texture, or color, creating cohesion even amidst the rearrangement. Below is a simple comparison of movable furniture options that can elevate your art studio:
| Furniture Type | Key Benefits |
|---|---|
| Foldable Tables | Space-saving, easy to set up and store. |
| Stackable Chairs | Versatile, perfect for extra seating when needed. |
| Rolling Carts | Mobile storage, quick access to supplies. |
| Modular Seating | Customizable arrangements for different group sizes. |
| Inflatable Cushions | Lightweight and portable, ideal for impromptu creativity. |
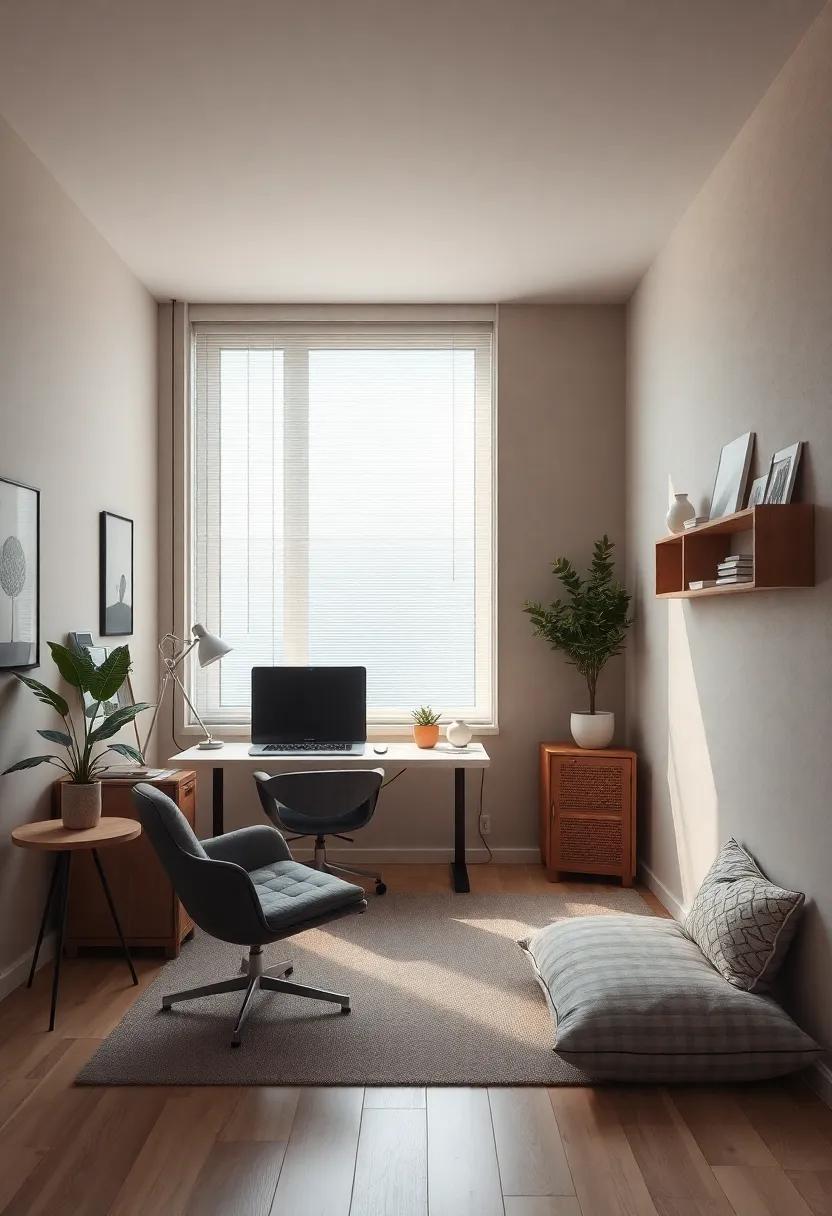
Create designated zones within your studio for different creative tasks, from painting to crafting to digital work
By dividing your studio into designated zones, you can streamline your creative process and ensure that each task gets the focus it deserves. Here are some ideas for your studio layout:
- Painting Zone: Set up an easel or a large work table with natural light nearby. Keep supplies like paints, brushes, and canvases organized and within reach to encourage spontaneous creativity.
- crafting Corner: Dedicate a compact space where you can work on assorted crafts. Utilize stackable storage bins to house materials such as paper, fabric, and adhesive, and consider a pegboard for quick access to tools.
- Digital Workspace: If you’re merging traditional and digital art, create a tech-friendly zone with your computer, tablet, and troubleshooting essentials. A agreeable chair and good lighting will enhance productivity and comfort.
For an even more effective setup,consider using a zone layout table to plan your studio. Here’s an example:
| zone | Key Features |
|---|---|
| Painting Zone | Natural light, easel, organized supplies |
| Crafting Corner | Stackable storage bins, pegboard, easy access to tools |
| Digital Workspace | Comfortable seating, tech setup, ergonomic design |
Utilize pegboards for a visually stimulating way to showcase tools and materials while keeping them accessible
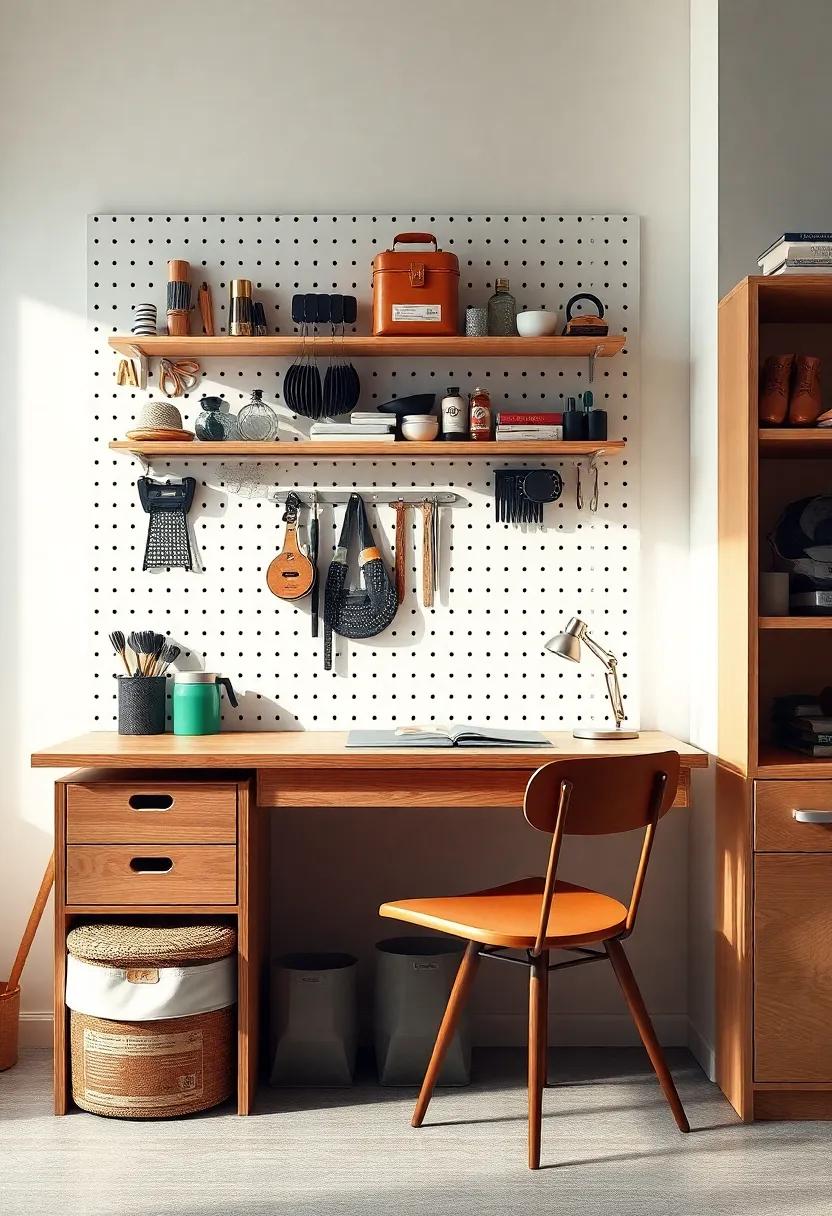
Transform your art studio into a dynamic space by incorporating pegboards into your design. These versatile boards not only serve as a functional storage solution but also allow you to create an interface that showcases your tools and materials in an eye-catching manner. Paint the pegboard in a bold color or opt for a natural wood finish to enhance your studio’s aesthetic. Arrange your items—such as paints, brushes, and scissors—on the pegboard in a way that inspires creativity; you might even consider using themed groupings or color gradients to achieve a visually cohesive display.
To maximize accessibility, integrate various hooks, shelves, and baskets on your pegboard, providing a home for everything you need at arm’s reach. Consider using different shapes and sizes to add visual interest. You can create designated areas for specific projects or mediums, helping to declutter your workspace while keeping everything organized. This system not only looks great but also encourages productivity by making sure that your essential tools are always on hand, facilitating a seamless transition from inspiration to creation.
| Pegboard Setup Tips | Benefits |
|---|---|
| Use Color-Coded Hooks | Enhances visual order |
| Incorporate Shelving for larger Items | Maximizes vertical space |
| Group Similar Tools Together | Improves workflow efficiency |
| Add Labels for Quick Identification | Streamlines access |
Bring in nature through potted plants or vertical gardens, which can definitely help inspire creativity and purify the air
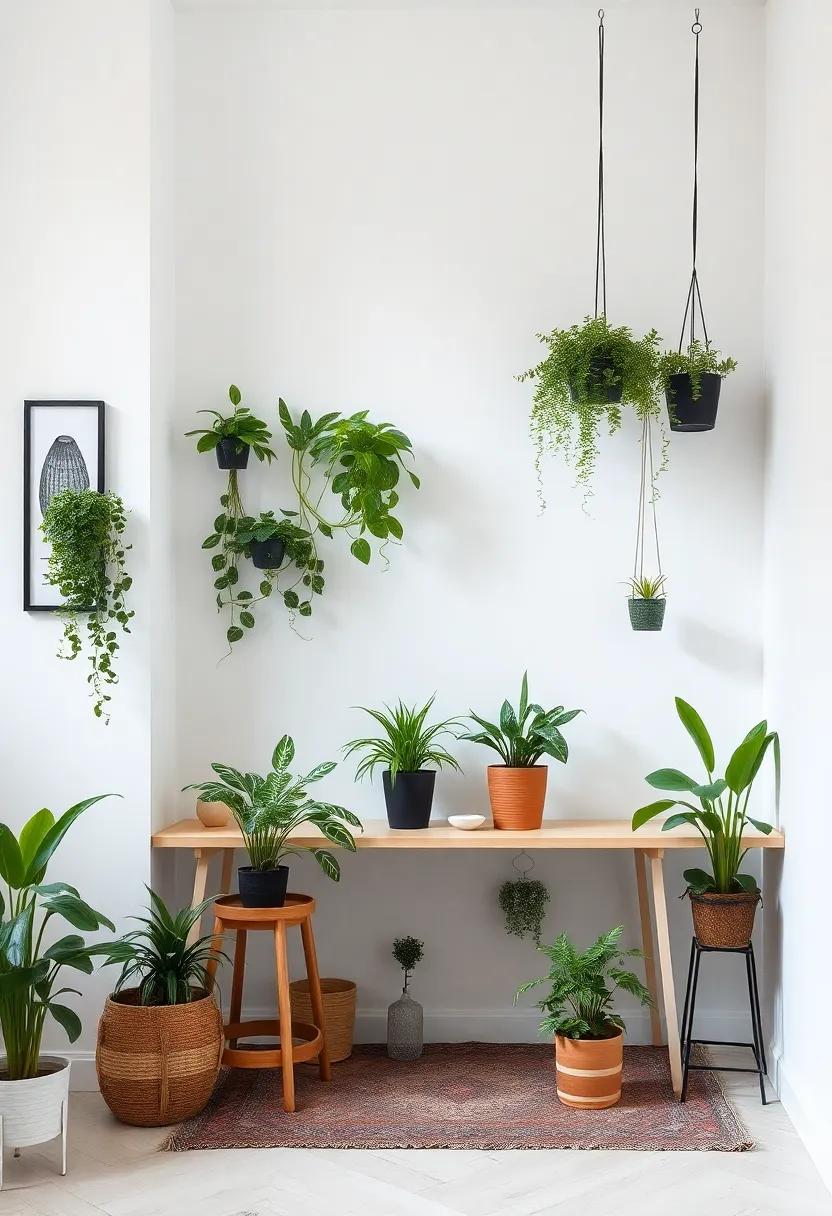
Infusing your art studio with potted plants or vertical gardens transforms the atmosphere, creating a serene space that stimulates creativity and enhances well-being. Consider selecting a variety of plants, including those known for their air-purifying qualities such as:
- Spider Plant – easy to care for and thrives in various conditions.
- Pothos – known for its trailing vines and heart-shaped leaves, perfect for hanging baskets.
- Peace Lily – adds a touch of elegance while filtering toxins from the air.
Vertical gardens are an exciting alternative if floor space is limited.They serve both aesthetic and functional purposes, making your studio feel alive and inspiring. To create your vertical garden, consider using:
- Wall-mounted planters – ideal for trailing plants and succulents.
- Vertical gardening kits – customizable units that fit your style and plant preferences.
- Modular shelving with pots – allows for easy rotation and access, keeping your space dynamic.
Integrate a blackout curtain or divider to easily switch from natural light to controlled lighting for focused work
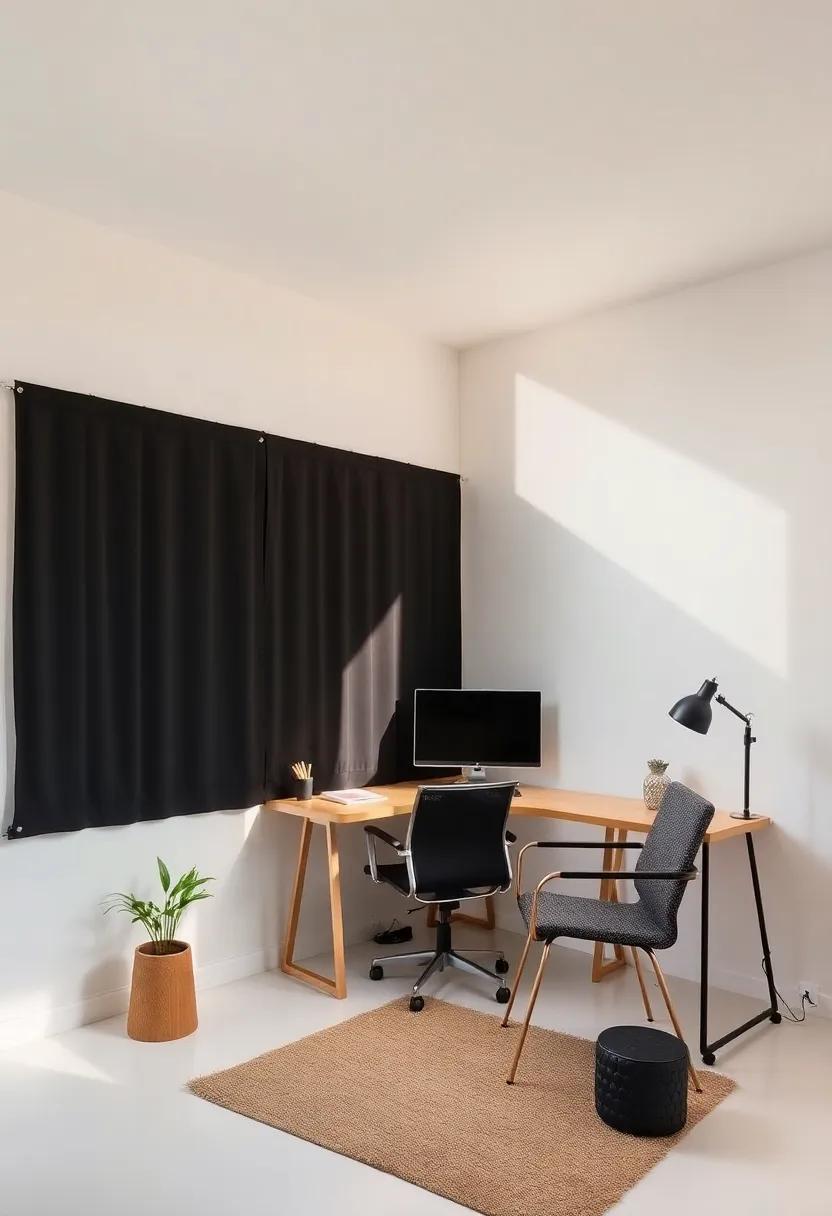
In a small art studio, having control over your lighting can significantly impact your creative flow and focus. Integrating a blackout curtain or a room divider transforms the space, allowing you to easily switch from the brightness of natural daylight to the soothing ambiance of controlled lighting. When inspiration strikes in the morning light, you can soak it up; though, when you need to concentrate on intricate details in your artwork, simply close the curtain or pull the divider.This adaptability fosters a harmonious environment where creativity can flourish, regardless of the time of day.
Consider these benefits of using blackout curtains or dividers:
- Versatility: Change the mood of your studio as needed.
- Improved Focus: Eliminate distractions from outside light during intricate tasks.
- Temperature Control: Help regulate the temperature by blocking heat or cold from windows.
- Privacy: Create more intimate working moments or conceal ongoing projects from guests.
You can even choose artistic designs or fabrics that compliment your studio’s theme, merging functionality with aesthetics. A thoughtfully chosen curtain or divider can serve as a unique design element that inspires creativity while providing essential coverage.
Choose a foldable easel or drawing board that can be tucked away when not in use, saving floor space
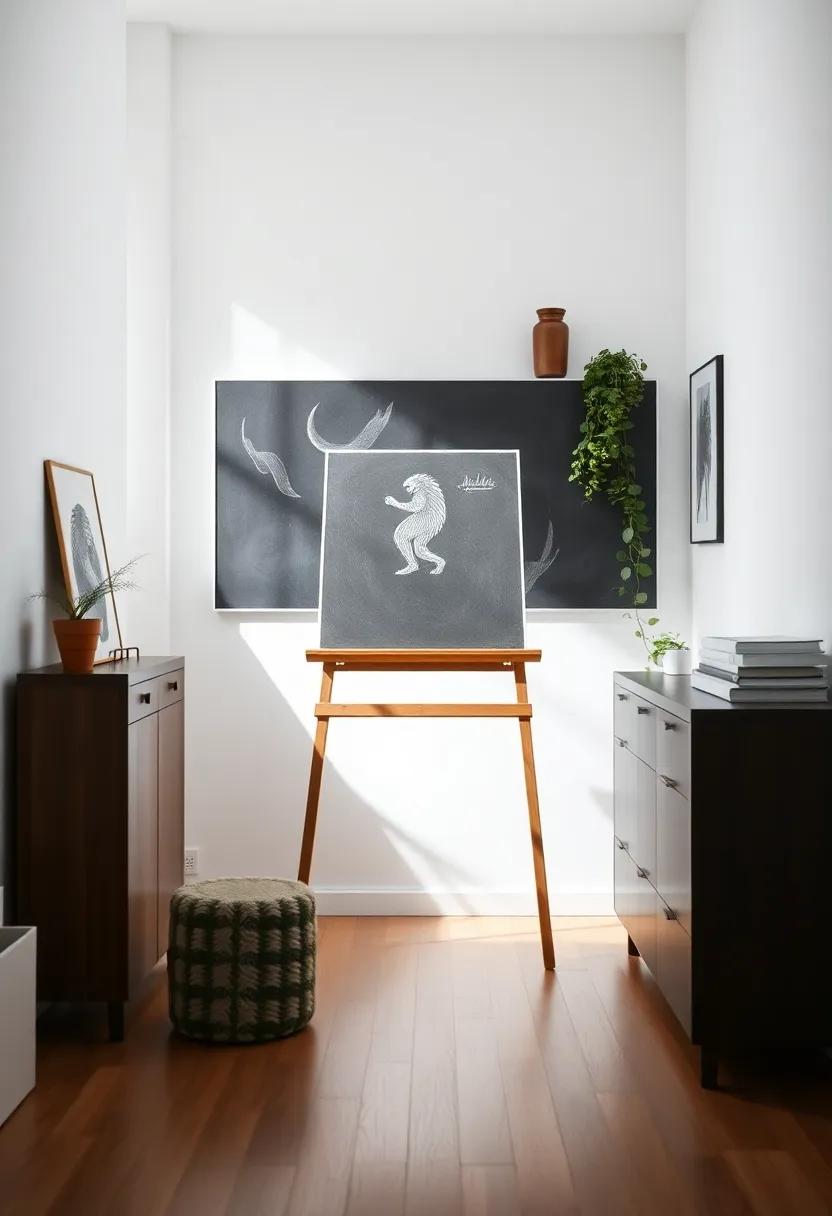
Maximizing space is crucial in a small art studio, and selecting a foldable easel or drawing board can be a game-changer.These versatile tools not only provide you with a sturdy surface for your creative endeavors but also offer the flexibility to disappear when your masterpiece is complete. Consider options that are lightweight yet sturdy, allowing for easy handling and secure support during use. Look for models that feature adjustable heights and angles to cater to different perspectives, making your artistic experience more comfortable and enjoyable.
When scouting for the perfect foldable easel, keep in mind these essentials:
- Compact Design: Opt for designs that collapse into a slim profile for easy storage.
- Material Quality: Choose options made from durable materials like aluminum or hardwood for longevity.
- Portability: Some models include carrying cases or built-in handles for on-the-go creativity.
- Multi-functionality: Consider options that can be used as both an easel and a drawing board, expanding possibilities.
If you’re responding to the challenge of space, here’s a comparison table to help you evaluate your options:
| Product | Foldable | Height Adjustable | Weight (lbs) |
|---|---|---|---|
| Art Alternatives Standard Easel | Yes | Yes | 4 |
| CanvasPop Portable Easel | Yes | No | 3 |
| SketchBoard Pro | Yes | Yes | 2.5 |
These creative solutions not only promise to keep your workspace neat and tidy but also inspire a clutter-free environment conducive to artistic innovation. Ultimately, a foldable easel or drawing board tailored to your needs can elevate your creative process while ensuring that your small studio remains an inspiring haven for your artistic journey.
Layer lighting with task lamps, fairy lights, and overhead fixtures to create a warm and inviting atmosphere
Creating a warm and inviting atmosphere in your art studio goes beyond wall colors and furniture choices; the right lighting can transform a space into a creative haven. Layering your lighting is essential for achieving the perfect ambiance. Incorporate task lamps that provide directed light for detailed work, such as painting or drawing, ensuring that your focus areas are well-lit without harsh shadows. Select fixtures with a soft glow to enhance the warmth of your workspace, making it feel both functional and cozy. Position lamps strategically on your work surfaces or shelves to minimize clutter while illuminating your artistic endeavors.
To add a touch of whimsy and charm, consider intertwining fairy lights throughout your studio. These tiny luminaries can be draped over canvases, shelves, or even along the edges of your work table to offer a magical quality to your creative space.Pair these with overhead fixtures that provide general illumination yet have a softer hue, which helps in creating an inviting atmosphere. Light sources that mimic natural daylight can enhance your color perception, ensuring that your artwork retains its vibrancy. Together, these elements will envelop your studio in a comforting glow, inspiring your creativity every day.
Use under-bed storage bins or rolling carts to stash supplies, making it easy to declutter and stay creative
Transform the often-overlooked space beneath your bed into a treasure trove of creative supplies by utilizing under-bed storage bins. These low-profile containers can be a game-changer for artists looking to maximize their minimal footprints. Choose obvious bins to easily locate all your materials, or opt for colorful ones that inspire your creative spirit. By organizing your paints, brushes, and sketchbooks in these bins, you can clear your workspace of clutter and keep your ideas flowing without interruption. Consider labeling each bin for easier access, ensuring you spend less time searching and more time creating.
Alternatively, rolling carts offer a versatile storage solution that combines accessibility with mobility. Place a stylish cart in the corner of your art studio and let its wheels do the work when you need to move it around. You can dedicate each tier of the cart to different art mediums—such as a level for watercolor supplies, another for sculpture tools, and so on. This not only keeps your studio organized but also allows you to rearrange your workspace as your projects evolve. With both under-bed bins and rolling carts, you can effortlessly weave functionality into your artistic sanctuary, ensuring inspiration is always within reach.
Consider a mural or statement wall as a backdrop that sparks inspiration and reflects your artistic style
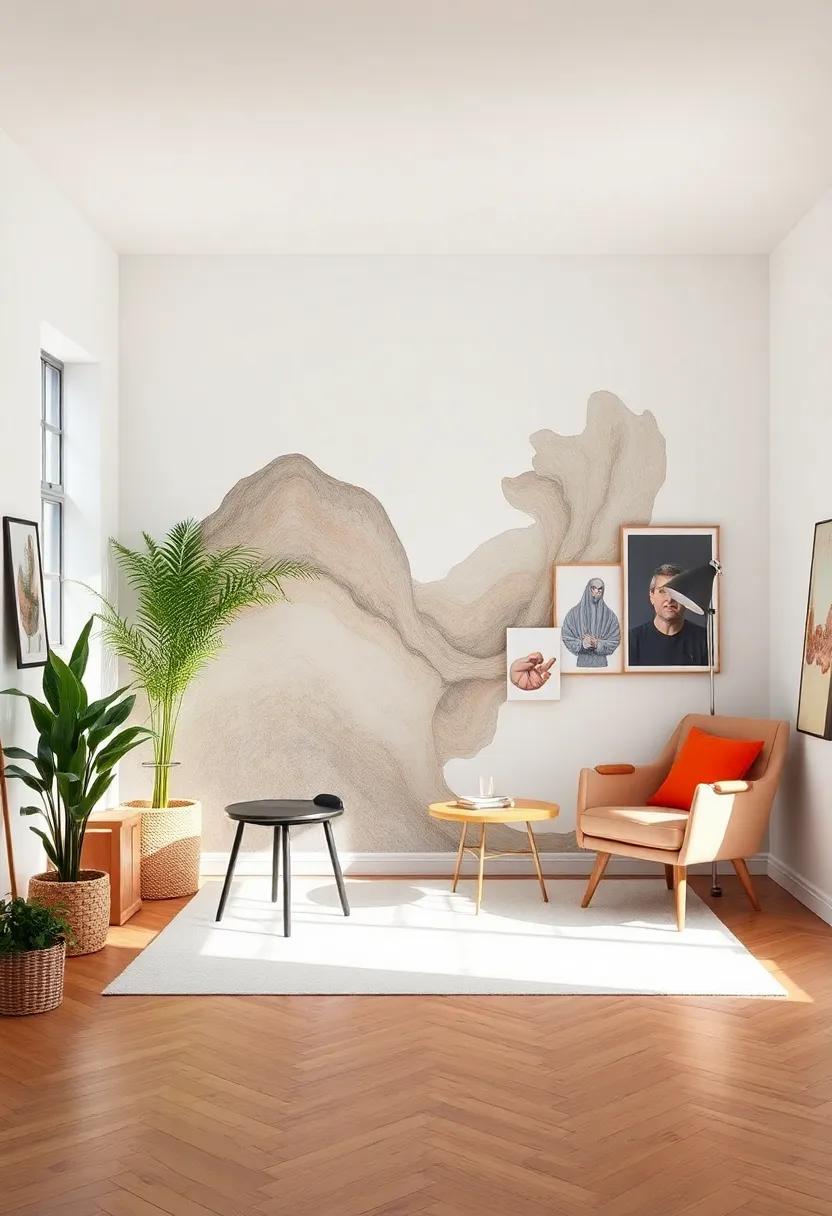
Transforming a blank wall into a stunning mural or statement piece can instantly elevate the ambiance of your art studio. It serves not only as a captivating backdrop but also as a source of inspiration. Consider the following ideas for creating a wall that resonates with your artistic vision:
- Choose a Color Palette: Select colors that stimulate creativity; warm tones can energize while cool hues promote calm.
- Incorporate Natural elements: Use motifs from nature, like trees or waves, that can connect your workspace to the outside world.
- Explore Local Artists: Collaborate with a local muralist to create a unique piece that reflects the community and your style.
- Embrace DIY Art: Consider painting your mural if you feel inspired; this can be a fulfilling and personal project.
- gallery Wall Option: Create a rotating gallery of your work or that of artists you admire, showcasing different pieces over time.
A statement wall can also serve practical purposes, combining aesthetics with functionality. Think about utilizing these ideas to effectively design your backdrop:
| Design Feature | Purpose |
|---|---|
| Whiteboard Paint | Perfect for sketching ideas or jotting down thoughts quickly. |
| Woven Textures | Introduce depth and interest with fabric panels. |
| Hanging Shelves | Showcase art supplies or small plants while adding a vibrant touch. |
Choosing the right design not only enhances your small space visually, but it can also foster a deeper connection to your creative process, making your art studio an inspiring haven.
Hang art-in-progress on a clothesline system or wire to showcase your work and motivate your creative process
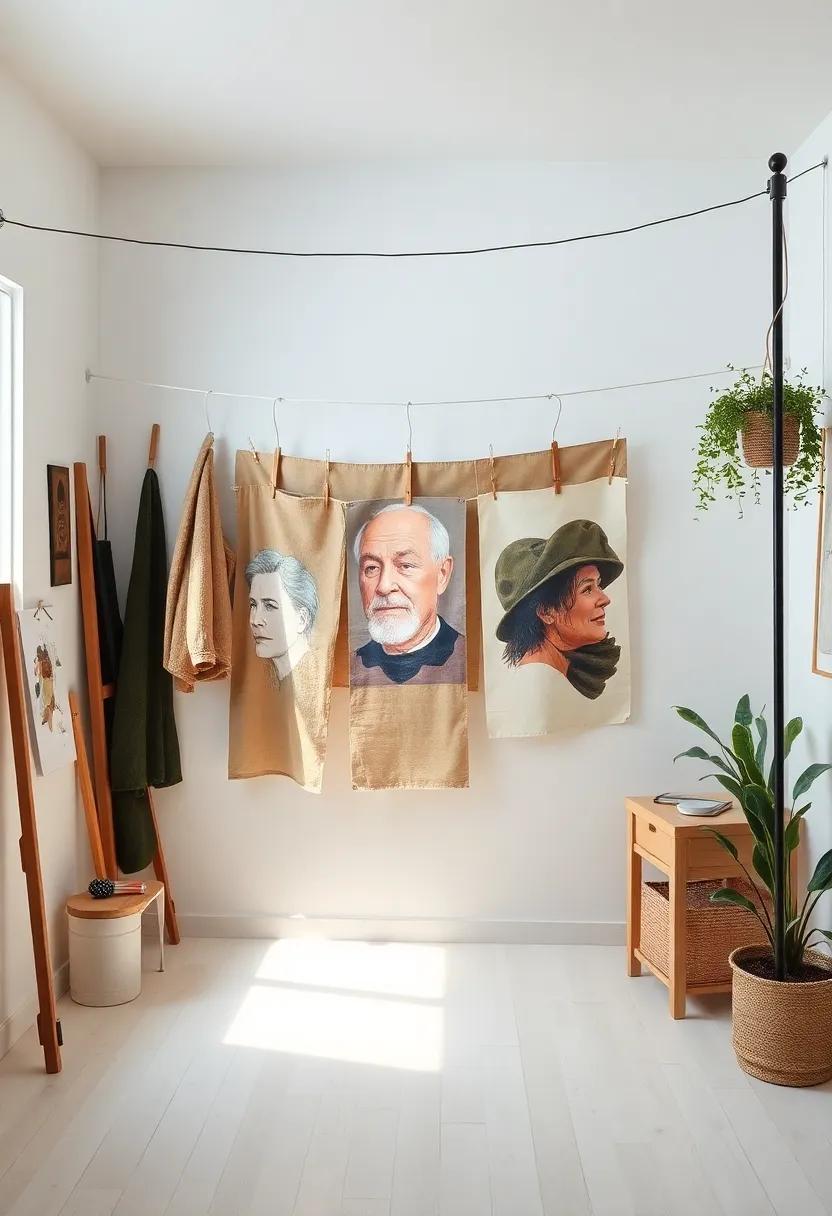
One of the most effective ways to invigorate your creative atmosphere is by displaying artwork in a state of flux.utilizing a clothesline system or wire allows you to hang pieces that are currently in progress, transforming your studio into a dynamic gallery space.This not only showcases your evolving artistic journey but also serves as a constant reminder of your goals and aspirations. Consider using:
- Clothespins: Attach art easily and switch out pieces when inspiration strikes.
- Color coordination: Organize artworks by color scheme to create an aesthetically pleasing display.
- Varying heights: Hang works at different levels for a more engaging focal point that captures the viewers’ attention.
Moreover, this display technique acts as a motivational tool, reminding you of unfinished projects and igniting your passion for completion. You can also incorporate a small board next to the wire for brain dumps, sketches, and notes that inform your ongoing pieces. Consider maintaining an organized schedule with a simple table to track your works:
| Artwork Title | Status | Completion Date |
|---|---|---|
| morning Glow | In Progress | Next Week |
| Whispers of Nature | Sketching phase | TBD |
| Abstract Dreams | Final Touches | This Friday |
Create an inspiration board that features clippings, photos, and color swatches to keep your ideas flowing
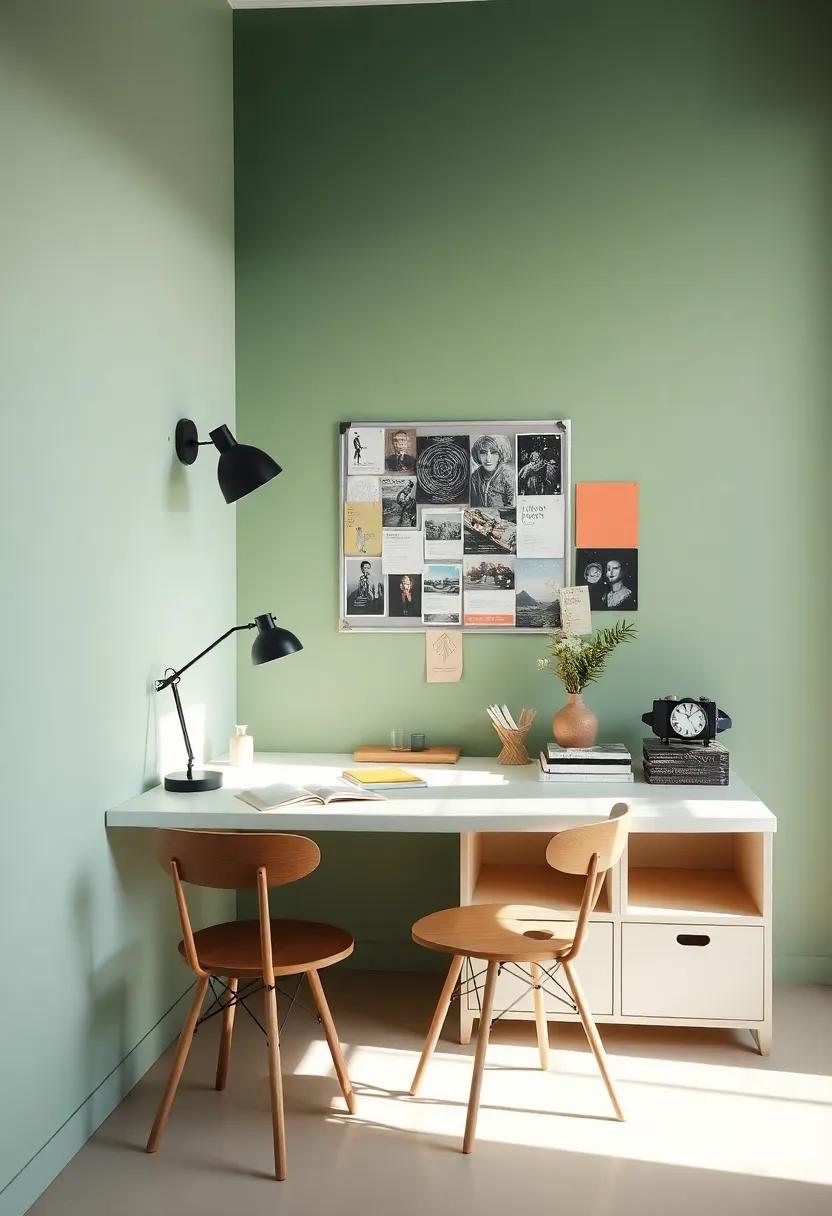
One of the most enjoyable ways to fuel your creativity is by putting together an inspiration board tailored to your artistic vision. This tactile collection can include clippings from magazines, photos of inspiring artworks, and color swatches that resonate with your desired palette. Start by dedicating a wall space or a large corkboard in your studio, where you can easily pin and rearrange your finds. Curate visuals that capture different aspects of what you love—whether that’s a vibrant color scheme, a particular art style, or themes that intrigue you.By keeping these elements in your setup, you create a dynamic atmosphere that sparks new ideas and encourages you to push your creative boundaries.
To elevate your board, consider using compartments or small frames for a polished look. This not only organizes your pieces but also allows you to give each item a moment to shine. You can also engage with tools like digital boards (such as Pinterest or Canva) for additional flexibility, but nothing beats the charm of physical interactions. Think about incorporating personal items like a treasured postcard or a favourite quote to make it uniquely your own. By regularly updating your inspiration board, it evolves alongside your creativity, acting as a living gallery that fuels your artistic journey.
Select furniture with built-in storage features to maintain a clean and organized environment conducive to creativity
In an art studio, every inch of space matters, especially when creating within the confines of a small area.Furniture that incorporates built-in storage features can transform your workspace into a clutter-free oasis that fosters creativity.Consider these clever solutions:
- Multi-functional tables: Choose tables that come with drawers or shelving underneath. This allows you to store art supplies, sketchbooks, and tools right at your fingertips while keeping the surface free for your creative projects.
- Storage ottomans: These versatile pieces can serve as seating or footrests, doubling as hidden storage for larger items like canvas or rolls of paper.
- Wall-mounted shelves: Opt for floating shelves that can hold smaller items or decorative pieces, turning vertical space into functional storage without encroaching on your precious floor area.
- art carts: A rolling cart offers mobility and easily accessible storage for paints and brushes, allowing you to move your supplies closer to your workspace and out of sight when not in use.
Maximizing storage isn’t just about creating space; it’s about creating an inspiring environment. Think about integrating furniture with a cohesive aesthetic that feels as good as it looks. Here are a few more tips:
| furniture Type | Storage capability |
|---|---|
| Drafting desks | Height-adjustable and frequently enough come with built-in drawers for easy tool access. |
| Bookcases with doors | Keep supplies out of sight while showcasing art books on open shelves. |
| Cabinet beds | Convert from a bed to a desk and come with hidden storage to stow away art supplies. |
Experiment with modular design elements that can be rearranged or scaled based on your current projects
one of the most effective ways to maximize your small art studio is to incorporate modular design elements that can be easily rearranged or scaled depending on your current project needs. consider investing in interchangeable furniture pieces, such as collapsible tables or stackable storage units. These versatile elements not only save space but also allow you to create a customized workspace that adapts to your workflow. As an example, you can use a large table for collaborative work one day and transform it into a compact area for individual projects the next.
To further enhance flexibility, think about integrating mobile elements into your design. This can include rolling carts, which can hold supplies that you can easily move to where you need them most. Additionally, wall-mounted shelves can be designed to easily slide or pivot, making it simple to shift around your artwork and supplies based on what you’re currently focused on. Below is a simple table outlining practical modular design ideas for an art studio:
| Design Element | Purpose | Benefits |
|---|---|---|
| Collapsible Tables | Work surface | Space-saving,versatile |
| Stackable Storage | Organizing supplies | flexible capacity,easy access |
| Rolling Carts | Mobile supply management | Convenient,easy to move |
| Wall-mounted Shelves | Display and access art | Optimizes vertical space |
Hang a cork board or magnetic board for easy access to ideas,sketches,and important notes without sacrificing wall space
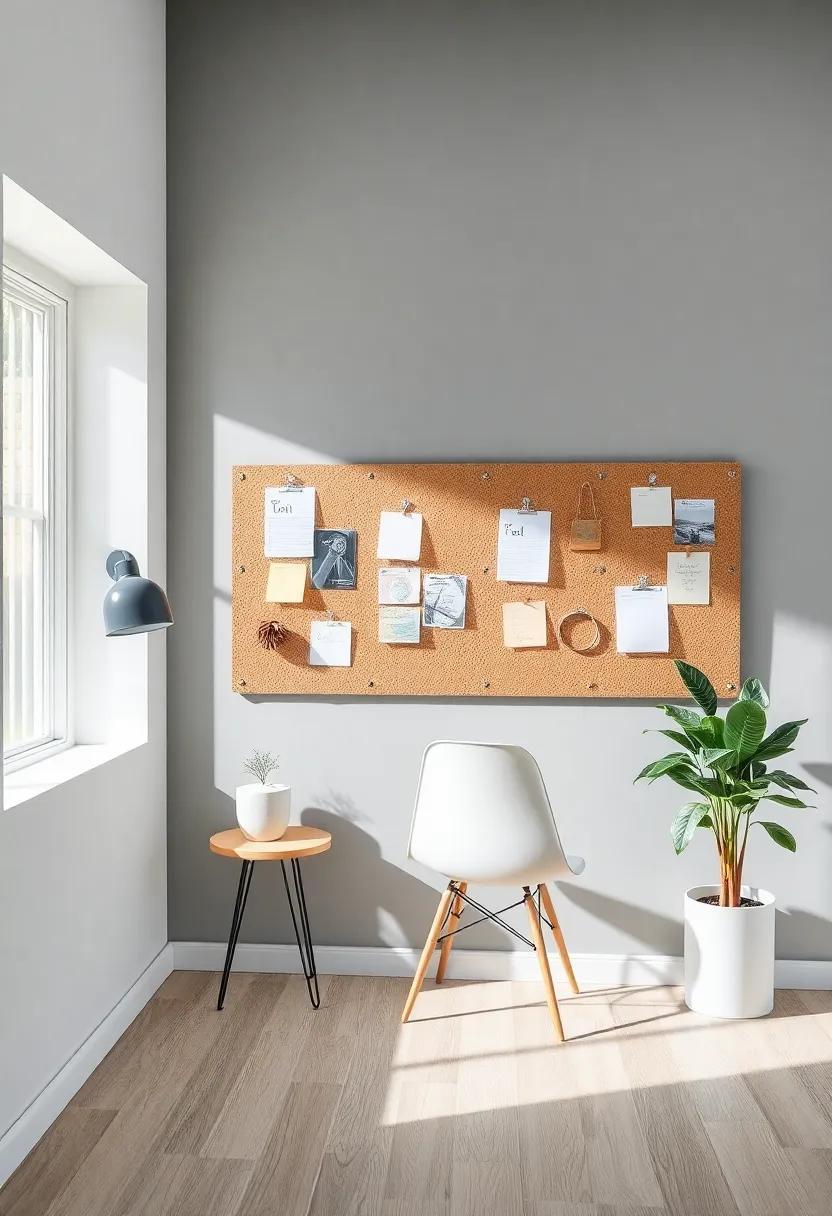
Transform a blank wall into a dynamic workspace by installing a cork board or magnetic board. These versatile surfaces can hold everything from sketches to inspiring quotes, helping to keep your creative thoughts organized and easily accessible. Use vibrant pushpins or magnets to add a splash of color,and don’t hesitate to mix different board sizes for a visually appealing focal point. This chic solution allows you to display your artistic journey, bringing your ideas to life right before your eyes.
To maximize functionality, consider dividing your board into sections, such as “Ideas,” “Sketches,” and “Critically important notes.” By categorizing your items, you’ll streamline your creative process and reduce clutter.You might even create a small table with your board’s layout to help visualize the organization:
| Section | Purpose |
|---|---|
| Ideas | Quick inspirations and concepts |
| Sketches | Drafts and works in progress |
| Important Notes | Reminders and deadlines |
ultimately, hanging a board not only creates a functional area for your workspace but also enhances your artistic environment. You can easily swap out items as your ideas evolve, ensuring your art studio always reflects your current inspirations and projects.
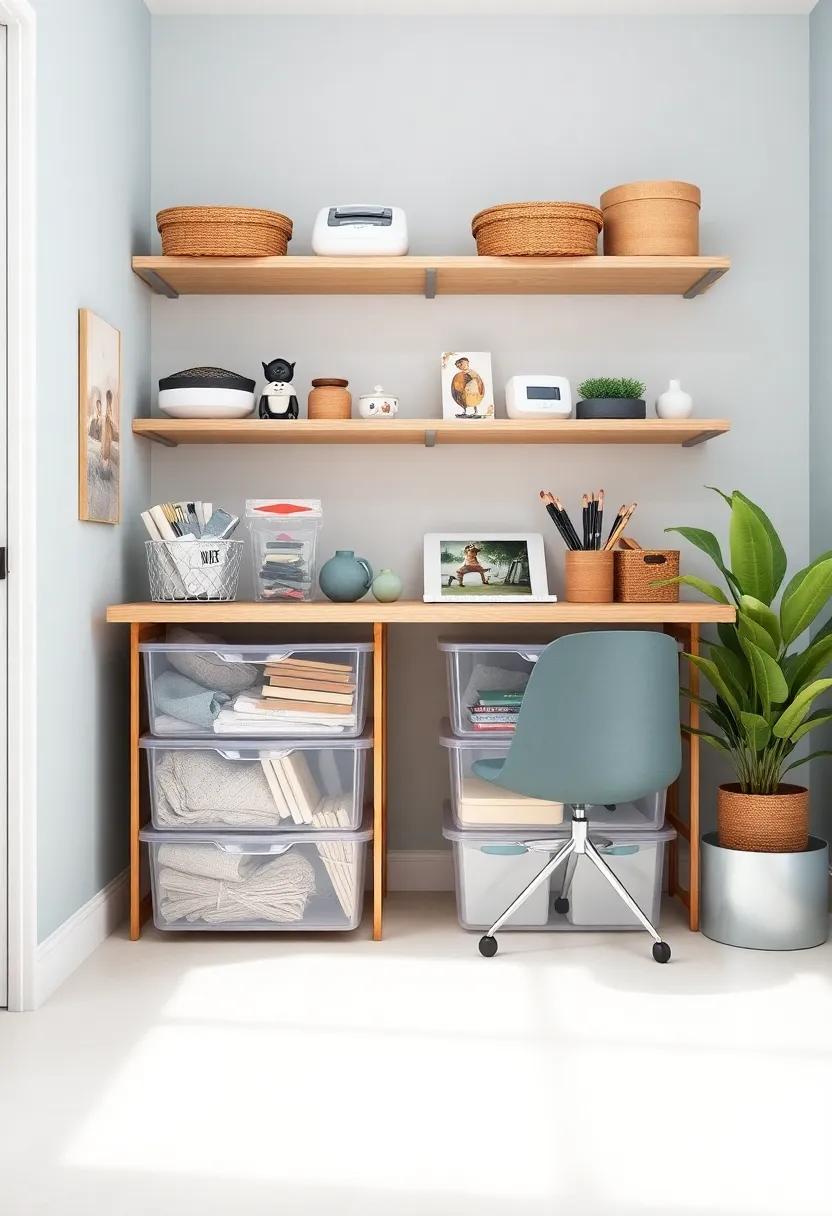
Use clear storage bins to easily spot supplies and materials while keeping everything tidy and organized
Transforming your art studio into a well-organized sanctuary is as simple as incorporating clear storage bins into your design. Not only do these bins keep your supplies neatly contained,but they also allow you to spot exactly what you need at a glance. Imagine reaching for your favorite brushes or tubes of paint without having to rummage through a chaotic pile. With transparent bin options,you can categorize your materials while enjoying a clutter-free workspace.Create designated bins for specific items, such as:
- Paints and Inks
- Brushes and Tools
- Sketchbooks and Papers
- Canvas and Surfaces
Make it even easier to maintain your organization by labeling each bin with minimalist tags or stickers that highlight their contents. This approach not only enhances functionality but also adds an aesthetically pleasing touch to your studio. Pair different sizes of bins for items of various dimensions, allowing you to optimize vertical space. Consider stacking them on stylish shelves, and if your art studio features any cabinetry, integrate these bins where possible to blend utility with design. Here’s a quick comparison of ideal bin sizes for different types of supplies:
| Supply Type | Recommended Bin Size |
|---|---|
| Acrylic Paints | Medium bins |
| Brushes | Small bins |
| Canvas | Large bins |
| Sketchbooks | Medium to large bins |
Implement a sliding storage system under your workspace to keep less frequently used items out of sight but within reach
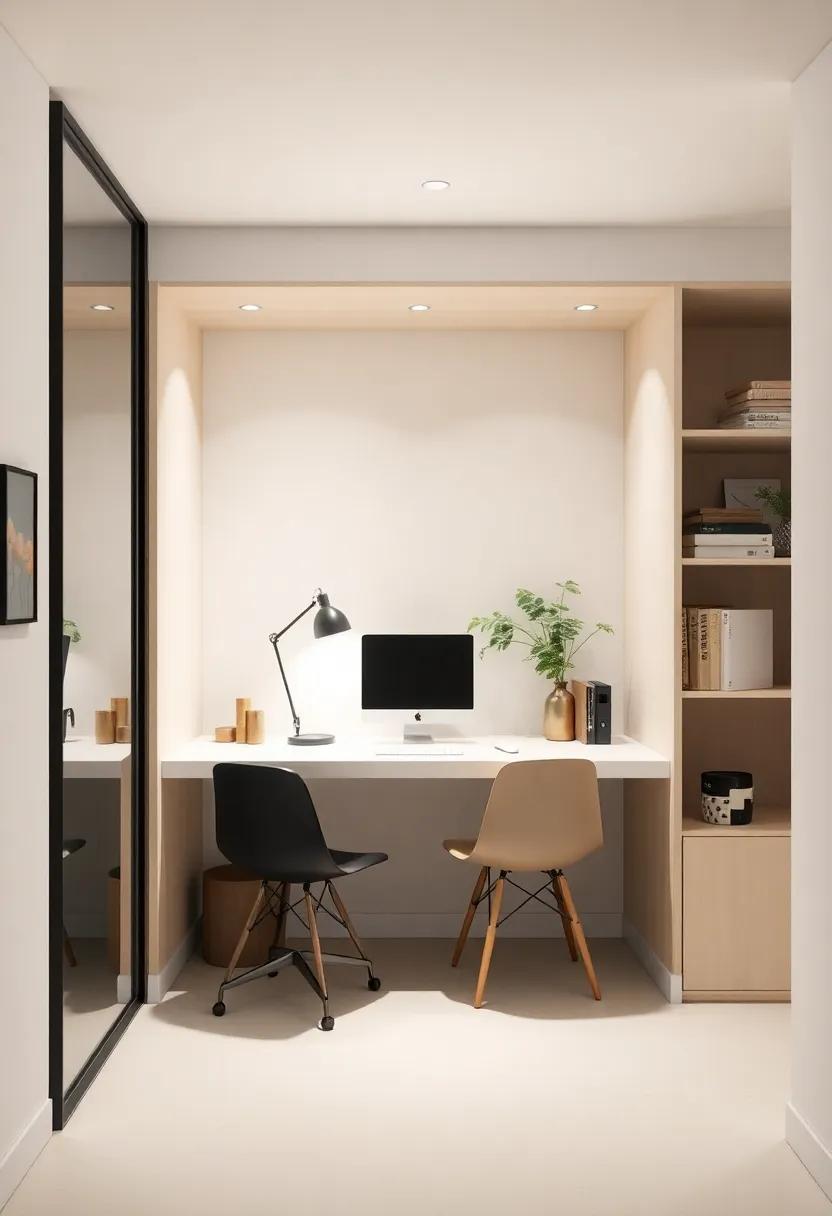
Transform your workspace into a clutter-free oasis by incorporating a sliding storage system beneath your desk or workstation. This clever design allows you to efficiently utilize space while keeping essential tools within arm’s reach and less frequently used items neatly tucked away. With the option of customized drawers, you can easily organize your supplies and materials, ensuring that everything has a designated spot.Consider using clear containers or labeled boxes that glide smoothly in and out, making it easy to grab what you need without disrupting your creative flow.
To enhance functionality, think about incorporating elements such as multi-level shelving or bins that slide out for easy access. Some ideas for what you might include are:
- Bulk supplies like canvas rolls or large sketchbooks
- Finished projects that require safe storage
- Seasonal materials like paints or seasonal craft items
- Reference books and art magazines
For a streamlined look, integrate a symmetrical design that complements your overall studio decor. Here’s a simple layout idea for your sliding storage:
| Drawer Type | Contents |
|---|---|
| Shallow Drawer | Pens,pencils,and brushes |
| Deep Drawer | Canvas boards and large supplies |
| Side Bin | Sketchbooks and papers |
Opt for a color palette that energizes you,using both bold and neutral tones to create a balanced,stimulating environment
Choosing a vibrant color palette can significantly influence your creative output, making it crucial to select shades that resonate with your personal energy. Incorporate bold hues like electric blue, fiery red, or sunny yellow to stimulate your senses and unleash your creativity. these energetic colors can be effectively balanced with neutral tones such as soft grays, creamy whites, or earthy browns. This juxtaposition not only enhances the visual aesthetics but also creates a calming backdrop that allows the eye to rest, fostering a productive environment.Aim for an overall composition where the bold elements energize the space while the neutrals ground it, ensuring a harmonious atmosphere conducive to creativity.
To help you visualize the perfect balance, consider a color plan that incorporates primary, secondary, and neutral shades. Utilize an interesting combination that maintains an energetic vibe without overwhelming the senses. Here’s a simple table illustrating potential color pairings:
| Bold Color | Neutral Color |
|---|---|
| Turquoise | Soft Grey |
| Magenta | Warm Beige |
| Bright Orange | Charcoal |
| Lime Green | Natural Wood |
Experiment with these combinations on your walls, furniture, and decor items to curate a space that sparks joy and inspiration every day. Adding splashes of bold colors through artwork or accessories allows for easy updates while maintaining a versatile and balanced environment.
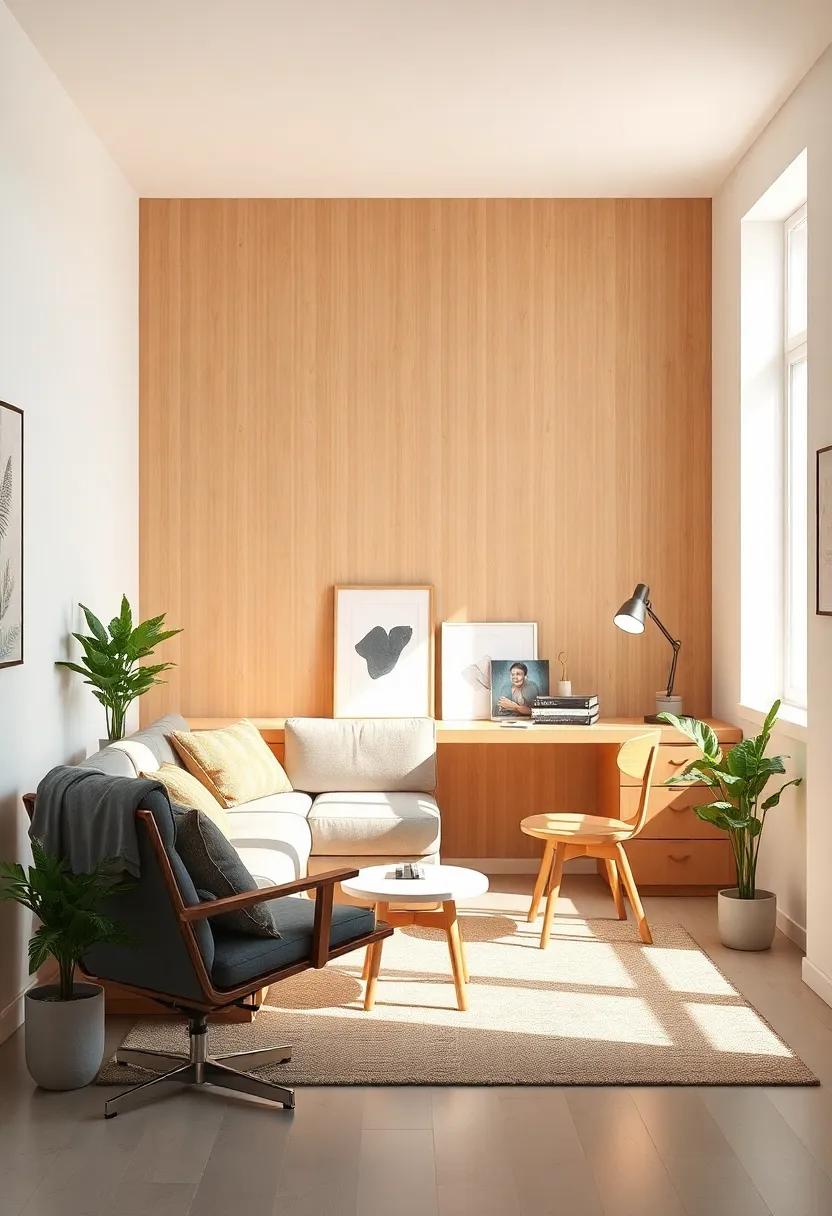
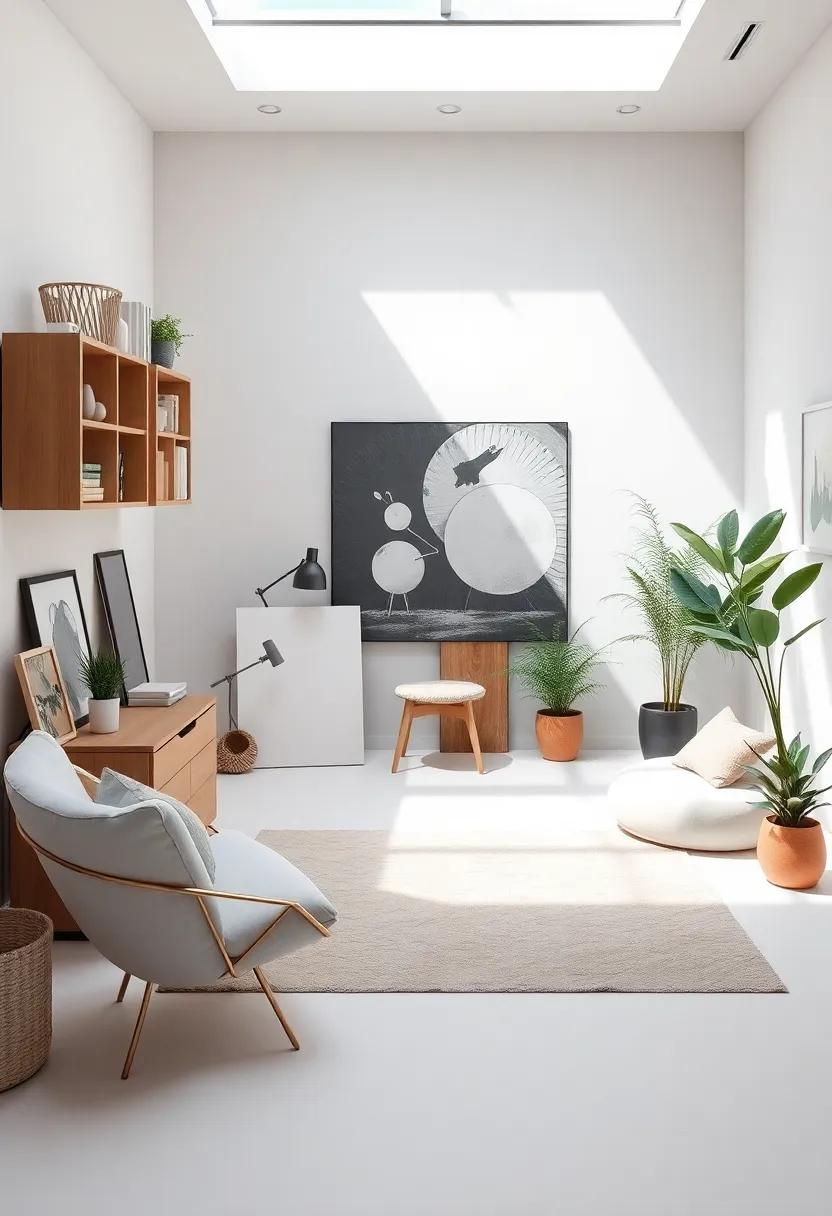
Create a cozy reading nook or lounge area with cushions for inspiration breaks and relaxation between creative sessions
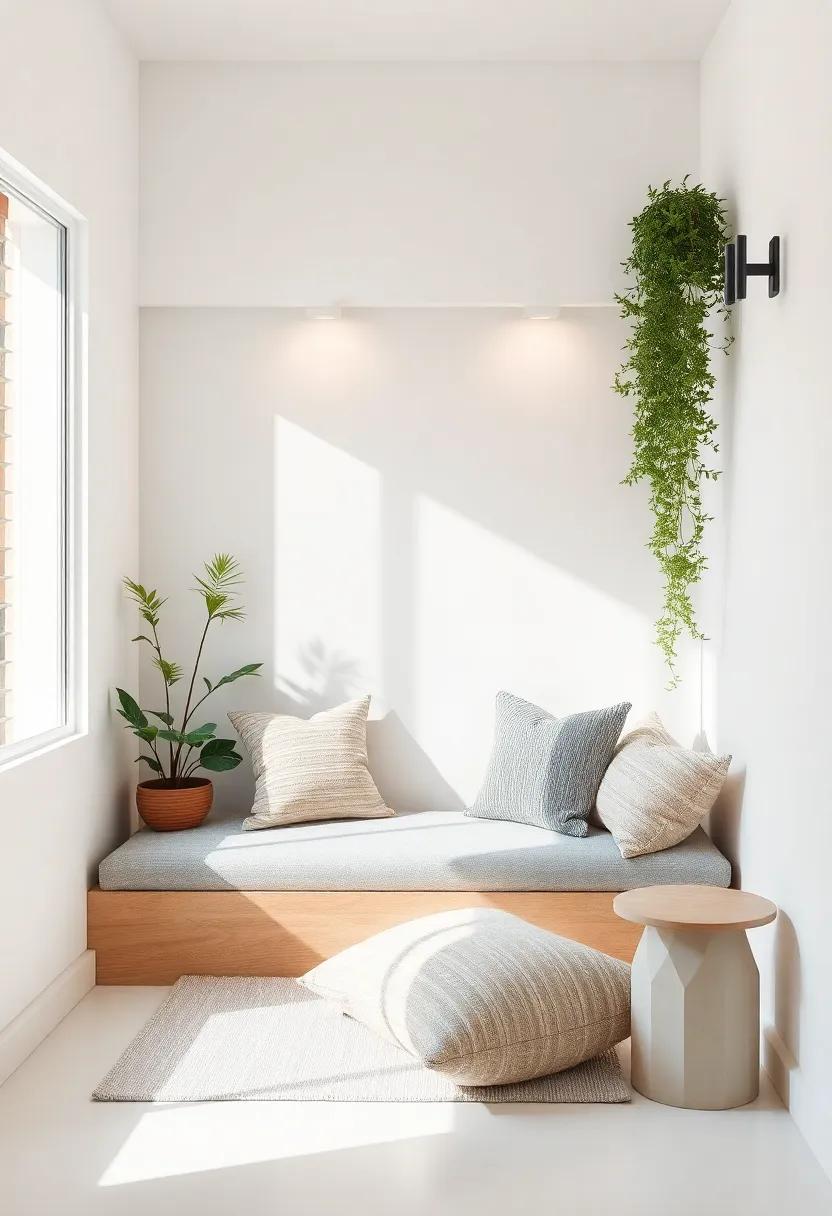
Transform a corner of your studio into a vibrant reading nook that fuels your creativity. Opt for a mix of large, soft cushions and plush throws in various textures and colors to stimulate the senses. Layering different sizes adds depth and comfort; think oversized floor cushions alongside snug sofa cushions. Consider placing a soft, patterned rug beneath to anchor the space and create a cozy atmosphere. A small side table can house your favorite art books, sketch pads, or even a warm cup of herbal tea, providing easy access during inspiration breaks.
Light is crucial for creating a nurturing environment. position your cushions near a window or under a stylish floor lamp to ensure adequate natural light during the day and a warm,inviting glow in the evening. Incorporate potted plants or small artworks on nearby walls to draw the eye and inspire. By creating this intimate sanctuary, even the briefest breaks can offer a chance to recharge and gather fresh ideas, turning moments of downtime into a pivotal part of your creative process.
Use curtains or screens to separate different sections of your studio,allowing for versatility and privacy when needed
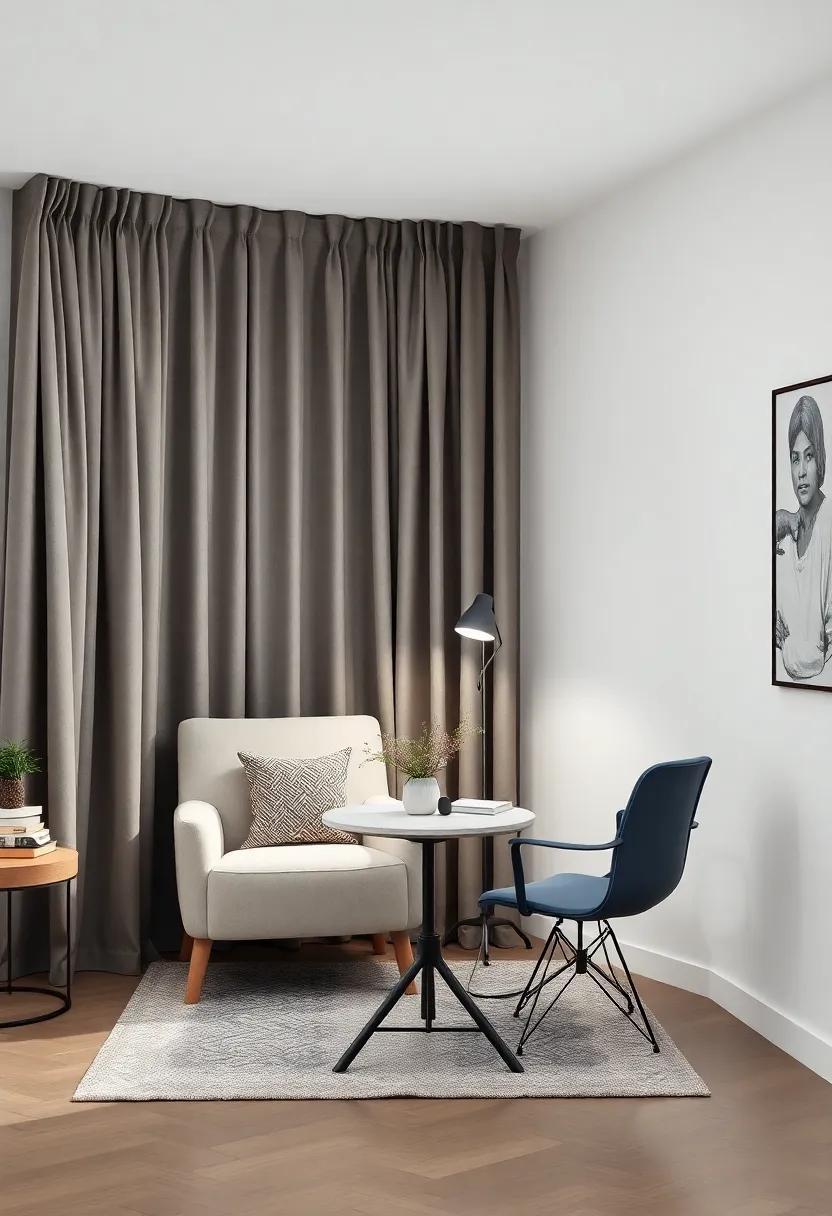
In a small art studio, flexibility is key to maximizing both space and functionality. one innovative solution is the use of curtains or screens that can be easily drawn or pulled back according to your needs. This allows you to create distinct areas within your studio, such as separating your workspace from a relaxation nook or a display area for finished pieces. Choose lightweight materials that effortlessly blend with your studio’s aesthetic, whether you prefer sheer fabrics for an airy feel or heavier drapes for enhanced coziness.
Beyond aesthetic appeal, these dividers offer privacy during your creative process. Imagine being able to close off a section of your studio when engaging in personal projects or when hosting workshops. You can also experiment with styles by using:
- Bold prints to infuse personality
- Natural fibers for an earthy vibe
- Translucent fabrics that allow light to filter through
By incorporating curtains or screens, you not only define your creative zones but also create an environment tailored to your artistic needs. Consider adding decorative rods or track systems for easy maneuverability, giving your studio an elegant touch while retaining versatility.
incorporate sound-absorbing materials to create a serene working environment that encourages focus and concentration
Transforming your art studio into a tranquil oasis can significantly boost your productivity and creativity. To achieve this, consider integrating sound-absorbing materials that will help to muffle distractions and enhance your focus. These elements can be both functional and aesthetically pleasing, allowing you to create a space that meets your artistic needs while keeping noise at bay. Here are some effective options:
- Acoustic Panels: Available in various colors and designs,acoustic panels can be a stylistic addition to your studio walls,absorbing sound and reducing echoes.
- Rugs and Carpets: Adding soft textiles to your floors not only brings warmth to your space but also dampens sound, making any drilling or paint mixing less intrusive.
- Fabric Wall Hangings: Consider hanging large fabric pieces that can serve as art while also acting as sound barriers, enhancing both the visual and auditory comfort of your studio.
- Padded Furniture: Opt for chairs and seating with plush upholstery, which can absorb noise and create a cozy area for brainstorming and creation.
Along with these individual elements, you can also style a cohesive sound-absorbing environment by combining various materials and furnishings. Here’s a simple overview to help you visualize:
| Material | Benefit | Style Influence |
|---|---|---|
| Acoustic Panels | Reduces Noise | Modern, Contemporary |
| Rugs | Dampens Sound | Cozy, welcoming |
| Wall Hangings | Adds Texture | Artistic, Unique |
| Padded Furniture | Enhances Comfort | Casual, Relaxed |
Personalize your studio with sentimental objects and artwork to foster emotional resonance and enhance your creative spirit
Infusing your studio with deeply personal items can transform it into a sanctuary of creativity. Begin by curating a collection of sentimental objects that spark joy and inspiration. Consider displaying items such as:
- Travel souvenirs that remind you of a meaningful journey
- Photographs of loved ones or cherished memories
- Gifts from fellow artists or mentors that inspire your work
Incorporate artwork that resonates with your emotions to create a visual narrative. Whether it’s a piece by a favorite artist or a personal creation, having artwork that speaks to you can elevate your environment. Think about:
- Framed quotes or affirmations that motivate you
- Children’s drawings that remind you of pure and unfiltered creativity
- Your own past artwork, showcasing your artistic journey
| Object Type | Emotional Impact |
|---|---|
| Travel Souvenir | Invokes memories and fosters a sense of adventure |
| Personal Photographs | Creates a comforting and familiar atmosphere |
| Inspiring Artwork | Stimulates creativity and emotional connection |
Future Outlook
As you embark on your journey to create an inspiring art studio within the cozy confines of your small space, remember that innovation knows no bounds. each of the 25 tips outlined here serves as a stepping stone to unlock your creative potential and transform even the tiniest corner into a vibrant sanctuary for your artistic expression.By blending functionality with imagination, you can craft a workspace that not only meets your practical needs but also fuels your passion and ignites your creativity. Art is about exploration, and your studio should be a reflection of that journey, filled with unique elements that resonate with your personal style.
So, take these ideas and adapt them to fit your vision. Embrace the challenges of small-space living as an opportunity to think outside the box, and let the exhilarating process of designing your studio inspire you to create your best work yet. Your canvas is ready—now it’s time to fill your small space with big dreams. Happy creating!